Caveat: You need to have Template Editor permissions. It may be sensible when naming new hooks, new templates or new template sets to add "TRAINING" as part of the name, to differentiate your work from 'live' production work. Do consider any 'Delete' actions carefully - is it your work you are deleting?
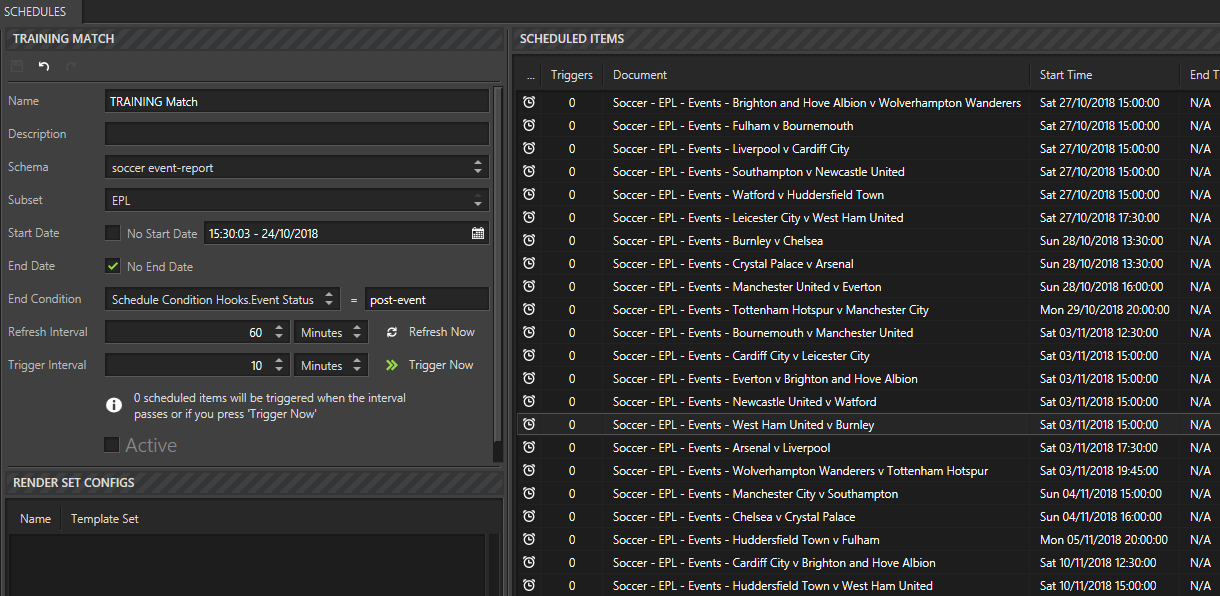
Creation of a Schedule
Requirement
A render set that generates all of the renders for a football match
A schedule that triggers these render sets during the time the match is in progress or when it is complete
Predecessor
If you have already created hooks that can be used as conditions by hooks that require conditions, you can skip to the heading 'Templates', if not, you will need to complete the following article:
Templates
Firstly, come up with a list of all the templates you want to be rendered automatically during matches. The templates could be built in a way no user input is required in order to generate each graphic, apart from looping through all the options in certain dropdown menus. For example, a 'Score Dog' football template cannot be automated because there is no way of knowing the kit each team is wearing, so these options need to be manually set by the Operator before rendering. You can, however, automate a Scoreline Lower Third football template because this is not reliant on what kit a team is wearing - all you need to do is loop through all of the different scorelines throughout the match that are given as selections from the dropdown menu.
Here are some template examples, but there could be more:
Scoreline Lower Third
Single Substitution
Single Card
Manager Name Super
You should make sure all of the templates you have chosen use the same data provider and schema and they are all included in the same template set.
Your Automated Render Set
You can complete the article: Automated Render Set or you could follow the brief steps below:
TEMPLATE SET, select the template set all your templates belong to
Select the correct subset from the 'Subsets' tab, i.e. the subset all the templates belong to, because they all use the same schema
RENDER SET, create a new render set, selecting the appropriate schema
Activate all the appropriate templates to be included in the 'Render Set' and set up their properties, for example:
Single Card: Single Card Selector = 'All Items'
Test out your configuration settings with the 'Analyse Graphic Permutations For Sample Data:' button
Conditions
Not only can you add conditions to your templates within the render set so they do not function until the condition is met. You can also use a 'List Transform' on your hook to add a 'Fixed Row', to which you can then set a condition. A good example of being able to do this is the 'Scorelines' graphic that has some fixed rows.
Make adjustments to templates if the desired behaviour cannot be achieved, for example, the fixed rows used to force half-time and full-time scores into the dropdown on the 'Scoreline' template need to have conditions so the scores only get added to the dropdown once the period value of the match gets past the time of their usage
If you used the article for the 'Creation of an Automated Render Set', you will need to complete the steps below to be consistent with the above. If you have already set the required conditions to your hooks you can skip to the heading 'Creating a Schedule'.
Select the main tab DATA
Select the sub-tab SCHEMAS & HOOKS
Below SCHEMAS:
Data Provider: XMLTeam
Target: Production
Schema: soccer event-report
Sample Data: Southampton v Leicester City
Within WORKING SET, select the 'Scorelines' parent hook
You may need to adjust the size of the pane to be able to see enough of the 'List Transforms' within HOOK PROPERTIES. Remember there is a scroll bar at the bottom of the HOOK PROPERTIES pane
At the very right-hand end of the 'First-Half' fixed row (i.e. the one that has minutes-elapsed = 1002), below the column header 'Condition': click the button: 'Select Hook'
From the new window, select the hook 'Progress' (it is a child hook of 'Schedule Condition Hooks')
For the 'Second-Half' fixed row (i.e. minutes-elapsed = 1003), below 'Condition': click 'Select Hook'
Select the hook 'Progress'
Now to give your condition hooks some mathematical functions:
For the 'First-Half' row (i.e. 1002), adjacent to 'Progress', set the following: >= 2 (Number)
For the 'Second-Half' row (i.e. 1003), 'Progress': >= 3 (Number)